 Guides4Homeowners Useful Information & Guides
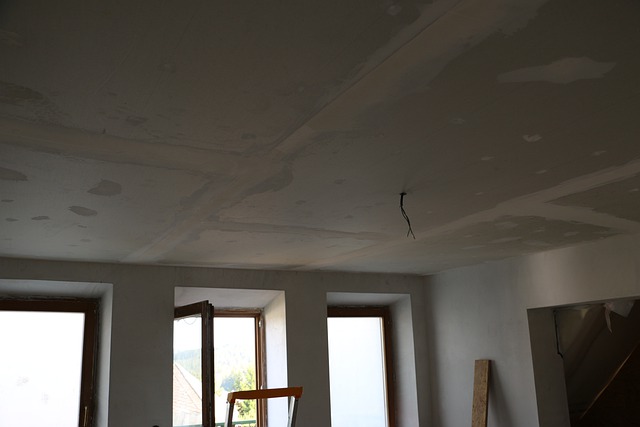
Plasterboard is a versatile building material used in various applications such as lining internal walls and ceilings. Plasterboard is made up of fire-resistant sheets with a gypsum core. Cellulose fibres from recycled paper are mixed with heated gypsum and water, with no other additives, treated with a water-repellant agent, and compressed to form strong panels.
Plasterboards are made primarily of gypsum and enclosed in special cardboard. There are also cement-filled plasterboards used for use both inside and outside the house construction.
Cutting plasterboard is an easy DIY project and can use cutting tools found in your home. People do not know how to cut the plasterboard, and this keeps them from using it. Following the ideas and guidelines, you will get the hang of DIY cutting of the plasterboard also known as drywall.
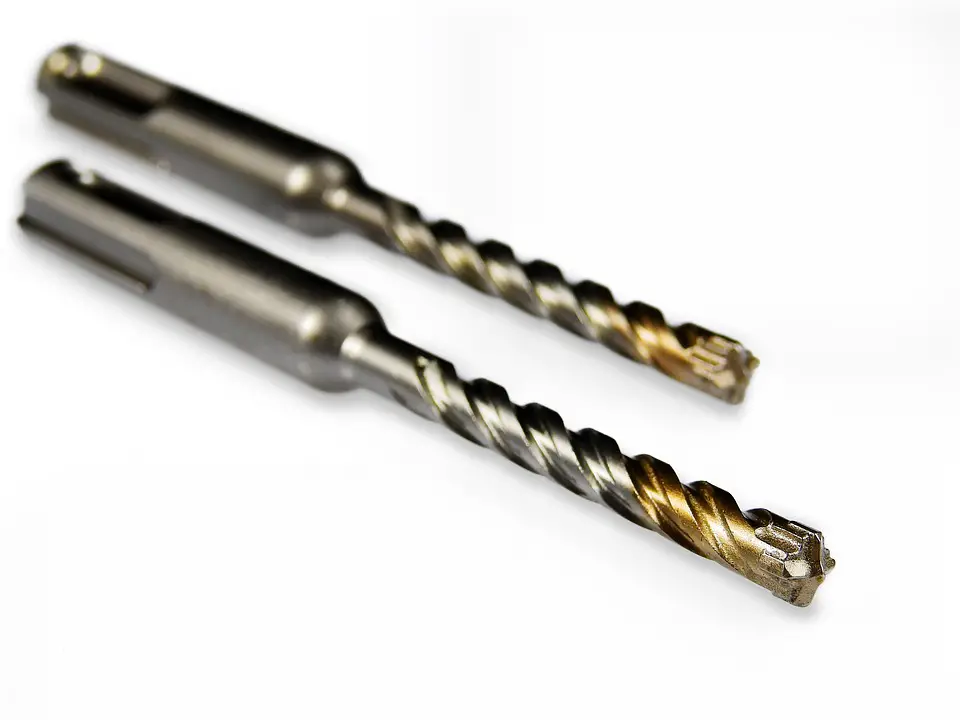
The ordinary timber saw is used to cut through plasterboard. Plasterboard tends to blunt cutting edges fast, and having a large project would require specialized cutting tools to cut.
You want to cut the plasterboard to a smooth and tidy edge finish. A rough edge finish will show through the surface even after painting the walls.
Table of Contents
Scoring Plasterboard and Snapping
The way to cut the plasterboard is using a utility knife, straight edge ruler, tape measure, and plasterboard saw. Find an additional pair of hands to hold on the plasterboard as you cut for stability.
Lean the plasterboard at a slight inclination on the wall to be covered. Ensure the plasterboard edges are well supported to prevent them from warping.
Place the straight edge and mark off the cut line with a pencil, and score using the Stanley knife. Bend the plasterboard firmly on the opposite side of the scored area. Use the Stanley knife to cut along the edge, and two pieces will separate.
To make a wall opening. To cut an opening on the plasterboard of any shape square or round, use a plasterboard saw. First mark out the area you need to take out from the plasterboard using a pencil. Use a plasterboard hammer, then using the sharp axe-like edge, bang into the board 50mm from the marked-out edges.
Banging with the hammer allows the plasterboard saw access to the saw along with the pencil marked-out edges. Insert the plasterboard saw in the created gap and cut along the pencil-marked lines, and cut out the shapes needed. Use a plasterboard plane to smooth up and tidy up the cut-out edges.
Cutting the plasterboard using Stanley’s knife and snapping the board, requires a lot of precision and skill.
Scoring and cutting the board, you will need to plane the surface edges for a neat finish. Rough edges will show in painted finished work.
The professional way to cut the plasterboard in a straight line is to first mark out the plasterboard with a pencil. Use a spirit level to ensure the line is in a straight line. Lay a straight edge on the plasterboard and using a utility knife score through the plasterboard. The aim is not to cut all the way through but cut deep enough to around 3mm depth.
After making the cut line, stand the board and fold it away from the cut line. The board will soon split neatly along the line of the cut on the side without the cut. Use the Stanley knife to separate the two pieces. Use the plasterboard rasp to clean up the edges.
To minimize waste from the cutting of plasterboards and work flowing smoothly, consider doing the following:
- Use longer sheets to work with. Use the 12-foot plasterboards instead of 8-foot. The pieces will be longer and can be used in other work projects.
- For complicated designs, lay the plasterboard on the floor to mark out the designs. For large openings such as doors and windows, cut out the sections while the plasterboard is lying on the floor. The door handles and window insulation might make cutting in position hard.
- To save on waste while working on the drywall cut along the length first, before cutting the width.
- While cutting, minimize creating joints especially hard to join joints.
- Start by hanging horizontal boards such as the ceiling before you start laying the walls.
Cutting the plasterboard with oscillating tools
The process of scoring and cutting plasterboards to the required size is done by hand and can take a long time to complete. For large projects, this will take a long time to complete. Consider using a multi-tool to cut the boards into size.
To cut the plaster walls accurately and fast, use an oscillating power tool to do the job quickly and with precision for long, straight cuts. The oscillating cutting tools come in cordless and corded types. Before buying, decide the one most suitable for your project. They both work the same but they have their advantages and disadvantages.
The advantage of the corded type is, it is more powerful compared to cordless. To use it, you plug it into power. Unlike the cordless type, you won’t have to worry about it running out of power. The disadvantage is, you have to keep it plugged in, and in sites where the power is outlet is far, you will need to connect an extension cable.
The advantage of the cordless type is it can be used in areas without electricity on the job site. The disadvantage is you may run out of charge before the work is complete. It is a good idea to keep a charged spare battery.
After deciding on your cutting tool, gather your safety gear. You will need protective eyewear, gloves, and earmuffs.
- To get started, use a pencil and ruler to mark out your cuts.
- Fit the cutting tool on the oscillating power tool and start the power tool. Make cuts along the marked-out pencil lines.
- Use a pendulum or slow rocking motion as you cut. The rocking motion will remove debris from the cut and preserve the quality of the work.
- Stop the tool to clean up excess dirt covering the cutting marks.
The oscillating power tool saves a lot of time and with selected accessories, it can be used for a range of activities such as scraping, sanding, and other processes.
Plunge-cut Saw
Using a plunge-cut saw will ease your work of cutting your plasterboard to size. The plunge-cut saw is precise and dust-free. Scoring and cutting the plasterboard requires a lot of effort and it’s inaccurate. In addition to cutting, you will need to use a plane to smooth the edges of the panels from scoring and snapping.
The plunge-saw will saw the plasterboard easily using the guard rail for accuracy and a dust extractor for a clean finish.
Plasterboards that contain high quantities of cement, use a diamond saw blade.
Before you start collect the necessary materials and tools.
Items for this project
- Plunge-cut saw
- Safety cover
- Guide rail
- Standard saw blade
- Diamond circular blade for abrasive materials.
- Fastening clamp
- Lever clamp
- Dust Extractor
On the guiding rail, fasten the circular saw tightening with a screwdriver to prevent play. On the circular saw’s scale to a 15mm depth.
Fix and set the guard on the entire guide edge length. The cutting edge will be the guide edge and also the scribe line. Connect the plunge-cut saw to the dust collector.
After setting up the plunge-cut saw, mark on the plasterboard with a pencil the lengths to be cut.
Set the guide rail on the pencil mark, securing it with the clamp if necessary. Set the required speed according to the materials you are cutting. Check the materials list specified by the manufacturer that can be used with the plunge-cut saw.
Switch on the plasterboard saw and cut the plasterboard at an average speed.
Plasterboard Fixing
After cutting the plasterboard into the desired shape, you can now fix the plasterboard to the internal wall or ceiling. Plasterboard can be screwed, nailed, or use an adhesive to stick it to the timber joists, studs’ walls, or to the ceiling.
When fixing the plasterboard with galvanized nails, do not hammer too hard so as not to compromise the plasterboard’s strength. Mark on the plasterboard points on which the screws will go through the board onto the timber framework. Once marked, drill the screws into the plasterboard holding steady.
Use Screws To Fix The Plasterboard
Mark on the plasterboard points where the screws will go through into the timber. Keep 100-200mm gaps on the timber framework. Use a drill; to drill screws slowly into the plasterboard till the screw is under the surface.
Finally, you can use adhesive to hold the plasterboard in place. Prepare the wall, and mix the adhesive according to the manufacturer’s instructions. Apply the adhesive in 20-30cm dots onto the wall. Finally, lay the plasterboard cuts as desired. Press down firmly on the frame for it to be secured too tightly to the wall.
In Conclusion
The type of cut to be used will depend on the project size, available tools, and the material type to be cut.