 Guides4Homeowners Useful Information & Guides
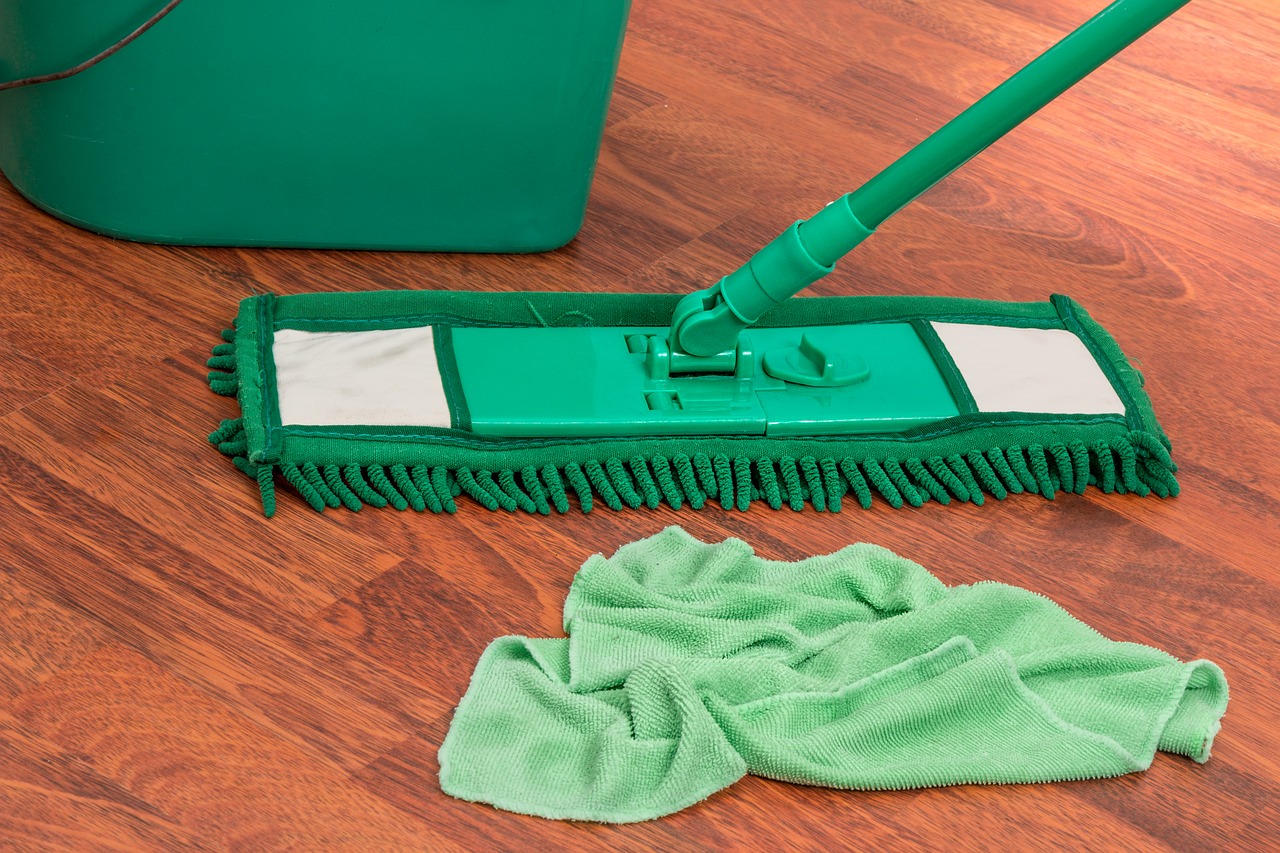
Laminate flooring has become one of the most popular flooring options for homeowners. It’s actually very easy to see why. Laminate is classy and relatively cheaper compared to hardwood. It’s easy to maintain too and it can play a crucial role in increasing the value of your home. Laminate often looks like real hardwood or sometimes like real stone.
In case you’re planning to install the floor in a DIY project, here are a few steps that you can take:
- Start by Cleaning the Floor
Laminate should be installed on a clean surface. In that case, the first step in the installation process is to thoroughly clean up the project area. Don’t use any detergent. Water should be enough. Let the floor dry before moving to the next step.
- Lay the Underlay
Once the floor is dried, it’s time to lay the underlay. Just roll it out gently placing it direly over the floor. When the underlay is on the floor, cut it in the right size. The underlay is an important component of the flooring. It helps absorb sounds and provide extra cushioning for the laminate.
- Set a Border between Rooms
It’s very important to make sure that the laminate flooring and the floor covering the adjoining room meet perfectly under the middle of the door. You can do this by nailing a piece of wood across the doorway to create a straight border.
- Lay the First Row of Boards
Once the barriers are in place, it’s time to lay the first board. Make sure there’s a packer between the board and the wall. This ensures there’s a 10 mm gap in between. Repeat the process with the next board until the first row is complete. Once this is done, you can now start cutting additional boards for the remaining spaces. The board needs to be cut in half before you start laying the second row.
As you lay the boards, you may also notice that there are a few gaps between one row and the other. You can use a hammer and a tapping block to close the gaps. The tapping block distributes the force of the hammer to ensure there’s no damage caused on the boards. It’s also important to specifically cut the boards that will go into each corner. This can be tricky when you’re dealing with an irregularly shaped room. The most important thing is to make sure the corners are identical.
- Clean Up the Area
Once all the boards are fully installed, clean up the area again. Gather all the tools and all the remaining debris first and sweep through the floor. Once you are done with this, the project will be complete.
Laminate floors offer a lot of benefits. They are strong, durable, classy, and very easy to install. The amount of time it takes to complete the project depends a lot on the size of the floor. But most of the time 24 hours would be enough.
Get a quote on laminate flooring
Looking to buy some laminate flooring and have it installed in your home? We can arrange everything for you. Simply select your product below and fill in the form, your details will then get sent across to tradesmen and local companies who will be able to supply you with quotes.